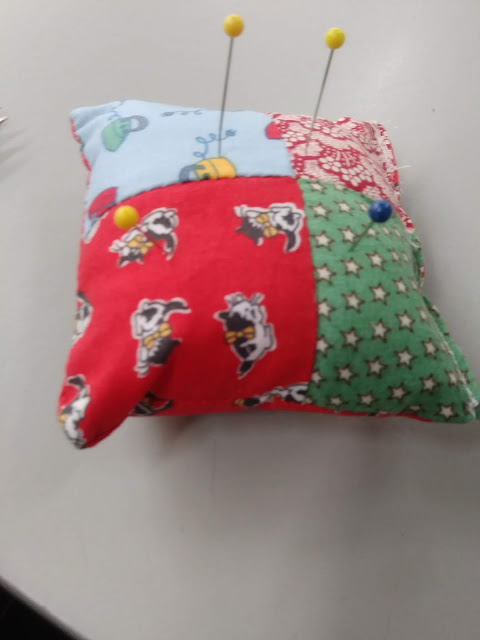
Hi and welcome. Today is the first day of the pincushion parade blog hop hosted by Crystal of www.daybrookdesigns.com. I am so excited to be a part of Crystal's very first blog hop that she is hosting.
As a seamstress and quilter, I always need pincushions. I use them at each machine and on my cutting table and at work. I even keep some in the boxes of projects I am working on, so that they are easy to grab and go.
Today, I am sharing a very fun and easy pincushion tutorial with you.
You will need -
4 - 2 1/2" squares
1 - 4 1/2" square
Some fiberfill or crushed walnut shells
Scissors
Thread
Sewing machine
Needle if You want to hand sew it.
Start with you 2 1/2" squares and sew 2 together, right sides together on one side.
Do the same with the last 2 2 1/2 squares.
Press.
Sew your square to your 4 1/2" square leaving an opening on one side to turn and stuff. (I leave maybe 2" in the center of the seam open.)
Turn right side out and stuff. I like to use a knitting needle, a pen or pencil to help me stuff it. I usually use fiberfill, as I have it on hand.
Sew the seam closed and you have a fun pincushion.
These make perfect gifts for birthday a , Christmas or I was just thinking about you and thought you would enjoy this.
I have at least 2 more pincushion to share with you during this blog hop so I will be back later in the month to share with you.
Please follow along with these other bloggers throughout the month. Download the form below as a way to track which blogs you visit and which pincushions you make. Be sure to share on Instagram and tag the blogger. If you have trouble downloading you can go to www.daybrookdesigns.com and click on the blog to download it there.


I love pincushions ... although I have to be very careful on my cats playing with them, pins and all. This is a wonderful basic tutorial. Thanks for getting is off to a great start. Looking forward to all the pretty pincushions on parade ... :) Pat
ReplyDeleteCute little pincushion and a nice easy kickoff. Thanks for the instructions.
ReplyDelete❤ Thank you for hosting a tutorial. We are sewing one now. ~ Crystal
ReplyDeleteThank you, I'll make one right away.
ReplyDeleteSo cute! I trim a lot of my scraps down to 2.5" squares so this will be a quick make.
ReplyDeleteThank you for the tutorial! Cute little project!
ReplyDeleteWhat a great kickoff to the blog hop. This is a great project to do with my granddaughter.
ReplyDeleteCute and simple! Thankyou!
ReplyDelete